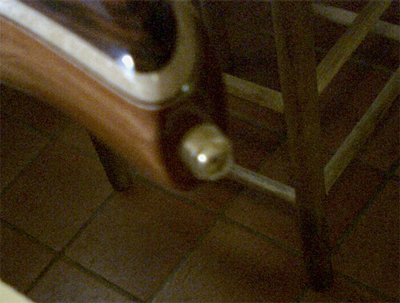
So the inserts showed up and just in time as this morning I was able to pull the Schaller stub and wood screw out with no effort. The 6-32s are the way to go. Since the bass has a Rogue body shape I had to get a drill that can swivel. Then I took a practice run on a scrap of wood. Next I drilled the 1/4" hole for the insert. Be sure to read Mica's post in the FAQ: (Information Related to All Instruments)
Installing threaded inserts Carefully insert the insert

I chose not to use Mica's method. I wanted a 'fix' that can be removed w/o drilling an even larger hole (although I imagine you could use a tap and dye set to remove inserts installed the right way). So instead I carefully worked an insert 3/4 of the way in, then backed it out and disposed of it. You guessed it, as careful as I was the slots started to lift and tear. The second insert went all the way in and a little more as per E-Z LOK's instructions (1/16" below the surface). I threaded a small lock washer, then the Schaller stub, then a 1/4" nylon plumbing washer and screwed it all up. Hoorah! All is now well. For the heck of it I used a Q-tip to SPARINGLY put a little ProLink chain lube (a "dry" lube for bicycle chains) on the stub and the U shaped channel. If you try this please be careful, the fumes are not pleasant, I don't think it would do the finish any good (when applying to chains I try not to let it drip on my tires as from experience I believe it causes the kevlar bead to fail prematurely), and you really don't want it to get on the fingerboard or your strap. Check list: Brass Threaded inserts @ 6-32s steel bolts 6-32 1/4" drill bit, swivel head drill if working on Rogue shaped basses right angle ratching screw drivers if working on Rogue shaped basses tiny lock washers 1/4" nylon washer Pics done with cellphone-cam, sorry.

Drill and Bass
First Insert
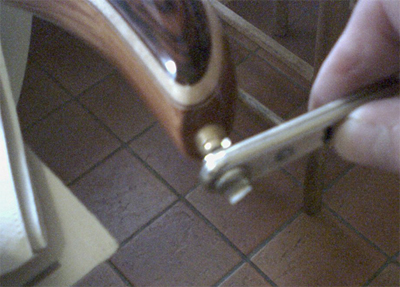
Right angle ratching screw driver
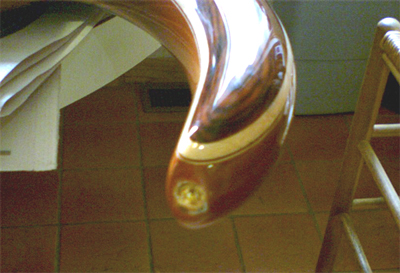
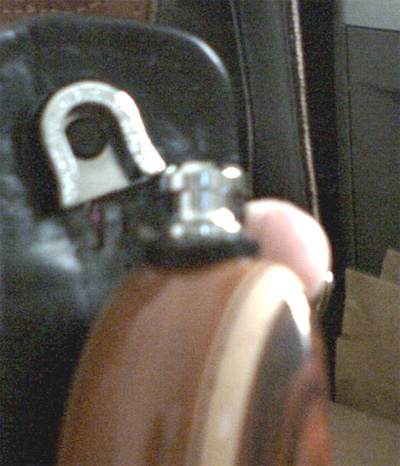
Inserted
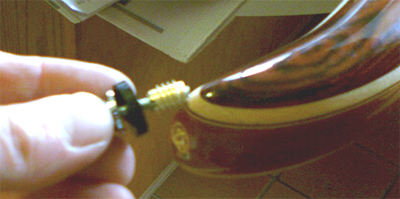
Constituent parts
Done!

